A Visual Guide to the SweetFX Settings
While there are many very good presets out there, very rarely do we find one that completely fulfills our expectations. This guide aims to help users build off of or make their own presets.
Some of these options will have little to no effect on your performance, and the cost to performance will depend on your system. The estimations are based off of my computer. Also remember that the more options you have enabled, the more fps you will lose, and that some options that wont effect your fps alone may take away a few fps if enabled with other things.
The SweetFX preset file comes with everything you need to tweak these settings to your liking. Experiment with different values to get a look you like.
Some of these options will have little to no effect on your performance, and the cost to performance will depend on your system. The estimations are based off of my computer. Also remember that the more options you have enabled, the more fps you will lose, and that some options that wont effect your fps alone may take away a few fps if enabled with other things.
- Alienware X51 R2
- Intel(R) Core(TM) i3-4130 CPU @ 3.40GHz
- 6.00 GB RAM
- 64-bit OS
- GeForce GTX 650
The SweetFX preset file comes with everything you need to tweak these settings to your liking. Experiment with different values to get a look you like.
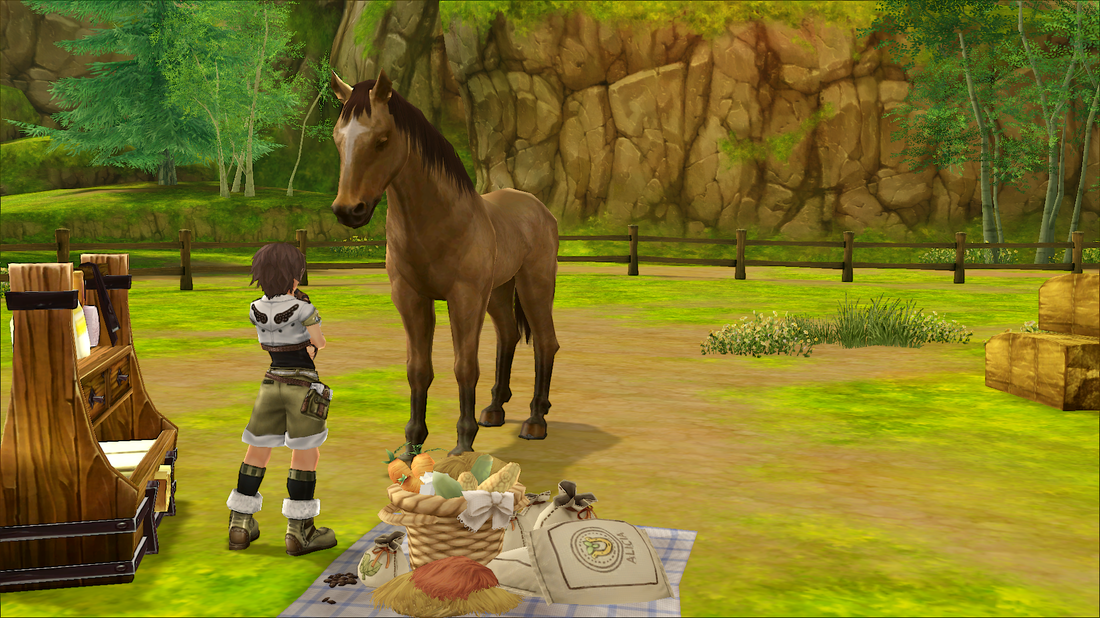
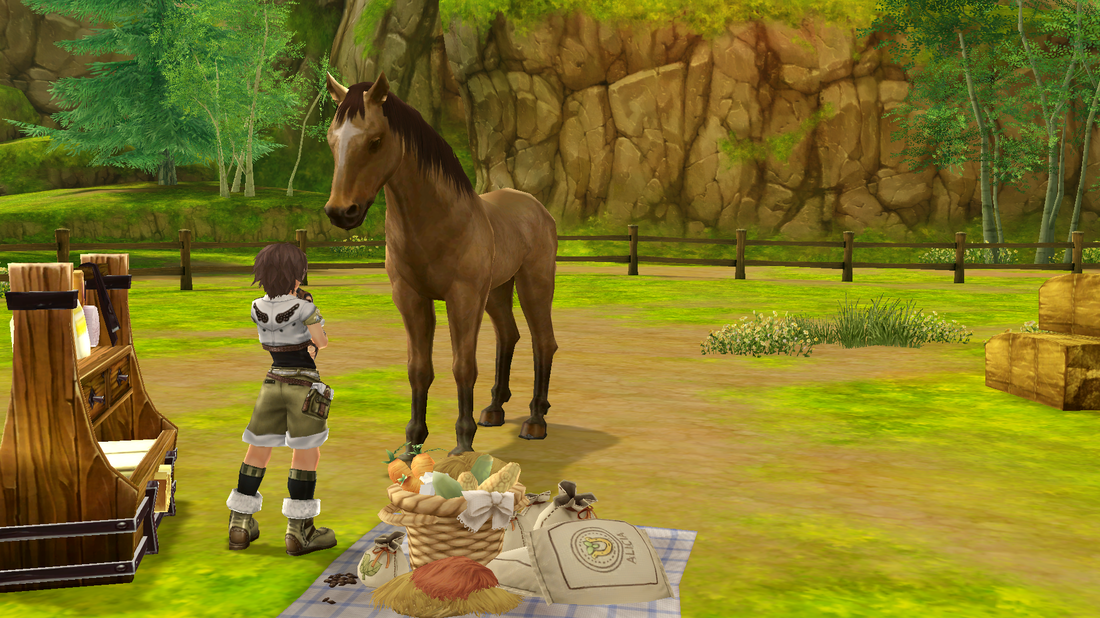
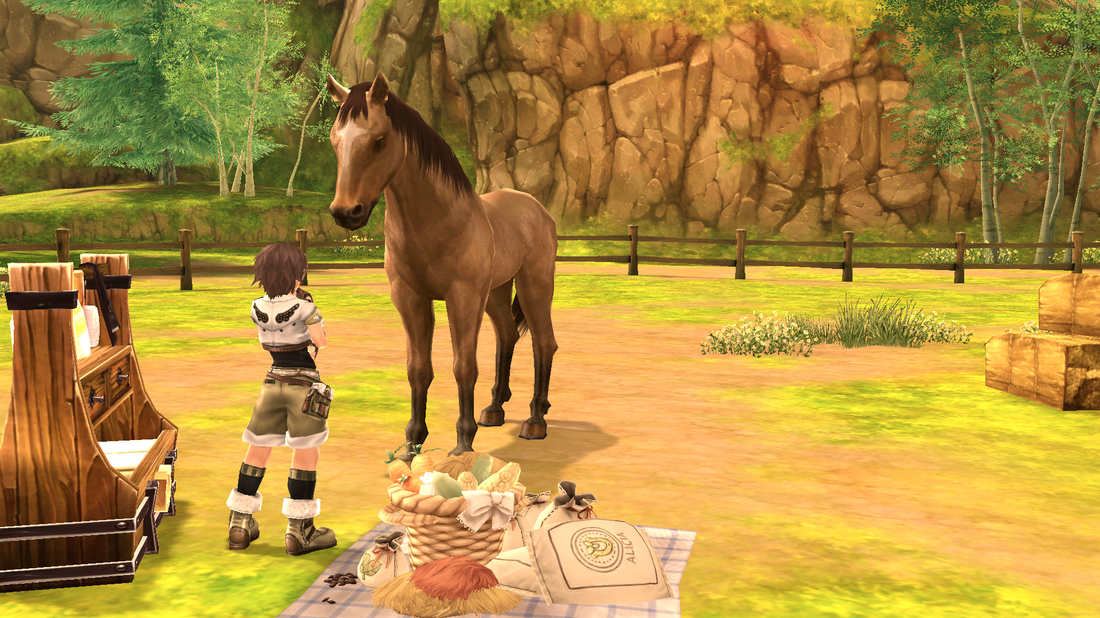
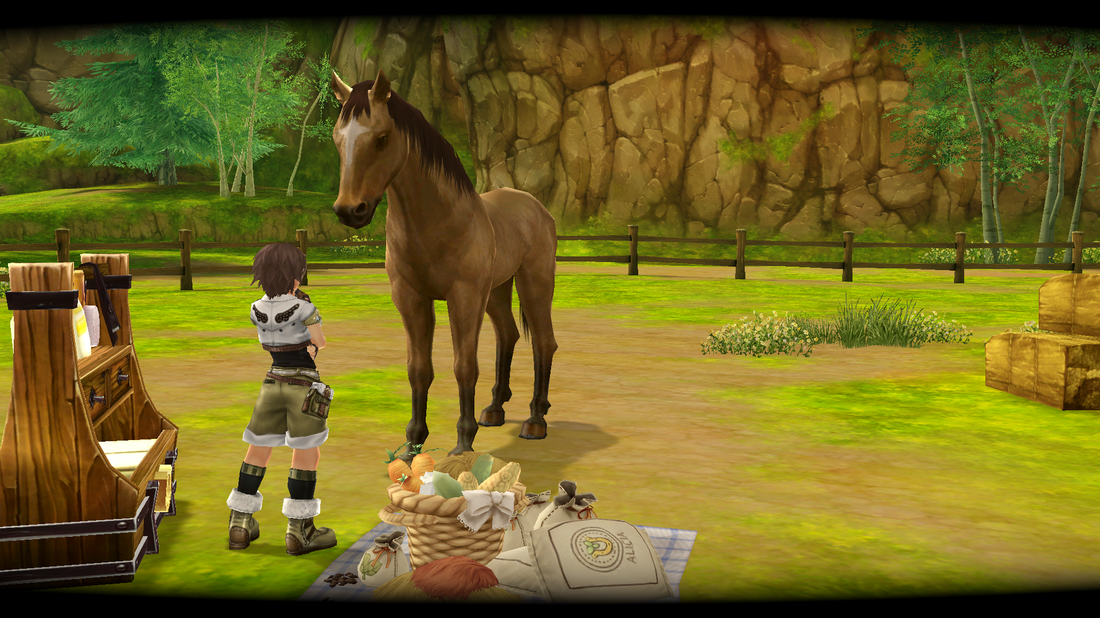
SMAA and FXAA
SMAA and FXAA are both forms of AA(anti-aliasing), which sharpens jagged edges on models. SMAA generally has a higher performance impact than FXAA, though will give you better image quality. Only one can be used at a time.
To see the effect best in the screenshots, look at the fence in the back and the horse's legs. The effect is more noticeable in-game.
FXAA estimated fps loss : 0
SMAA estimated fps loss : 1-3
To see the effect best in the screenshots, look at the fence in the back and the horse's legs. The effect is more noticeable in-game.
FXAA estimated fps loss : 0
SMAA estimated fps loss : 1-3


Cartoon
As the name suggests, this makes the image appear cartoony. This is done by adding a black outline to models. I don't suggest using this option, as it looks strange or does not work in most instances.
Estimated fps loss : none
Estimated fps loss : none

Advanced CRT
This option will make your game crash.
Bloom
Bloom makes lights 'bleed' their light into their surroundings. Since Alicia Online doesn't have real lights (lighting effects are baked into the textures themselves, making an illusion of lighting), this effect will only darken your screen the higher it is turned up.
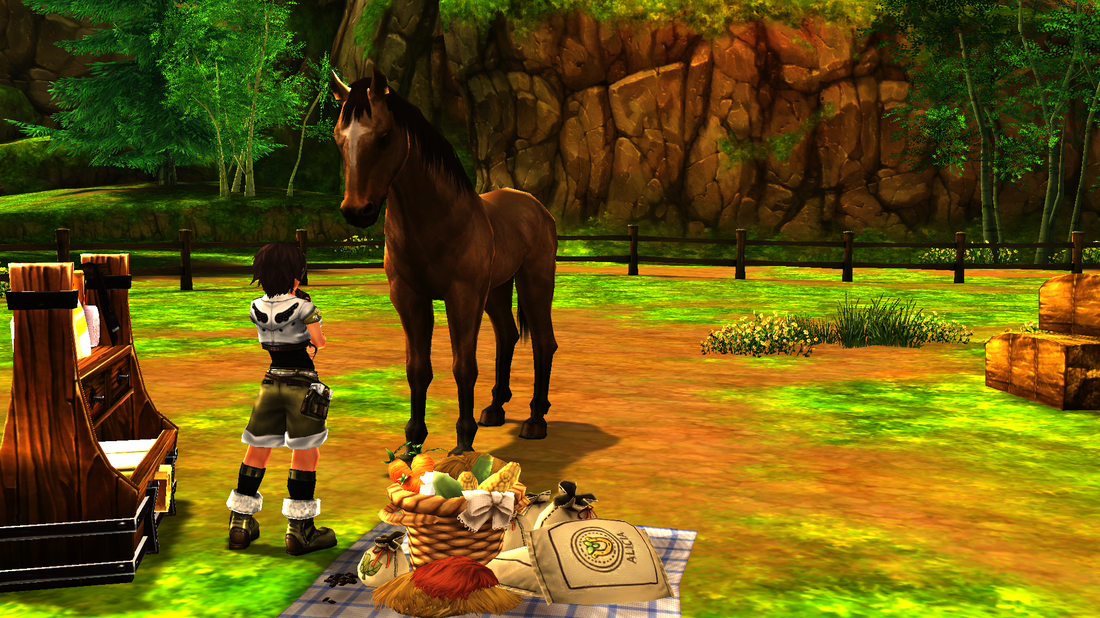
HDR
While not true HDR, this effect aims to mimic the HDR look. The effect will change depending on your settings; lower numbers for HDRpower will produce a brighter image. Higher numbers for radius2 will make the effect stronger and brighter.
Highly recommended to not:
Turn HDR Power higher than 3.0
Turn Radius2 higher than 1.0
Estimated fps loss : 0
HDR Power set to 3.0
Radius2 set to 1.0
Highly recommended to not:
Turn HDR Power higher than 3.0
Turn Radius2 higher than 1.0
Estimated fps loss : 0
HDR Power set to 3.0
Radius2 set to 1.0
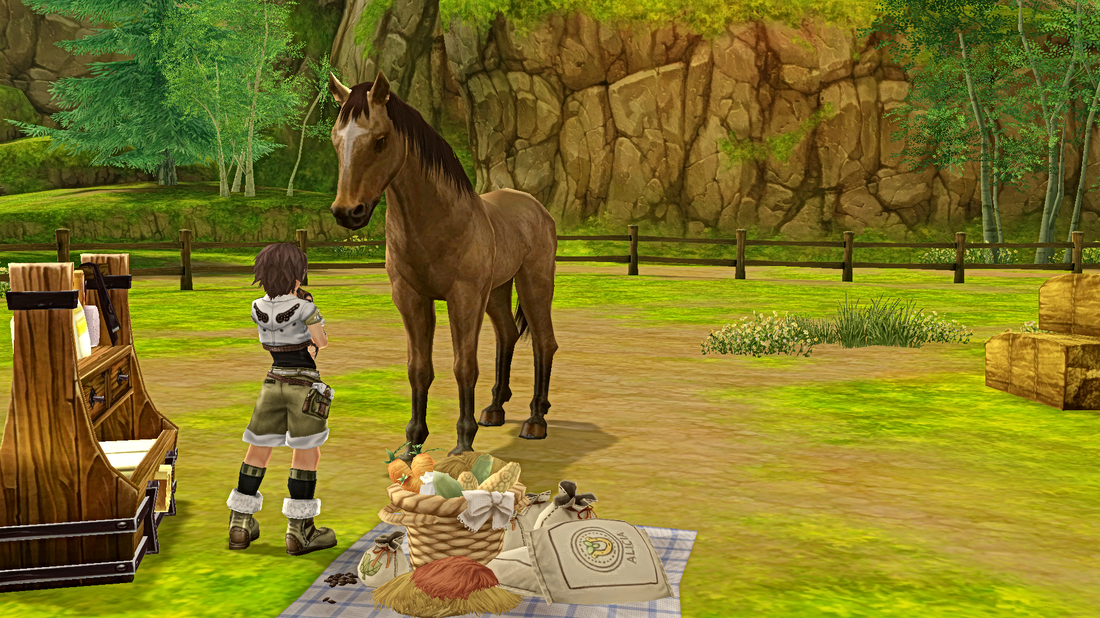
LumaSharpen
Sharpens the image. Has a similar effect to Gaussian Blur, though less noticeable. This is a good choice if you want a subtler, performance friendly effect.
Sharp_Strength increases or decreases the effect.
Estimated fps loss : none
Sharp_Strength set to 3.0
Sharp_Strength increases or decreases the effect.
Estimated fps loss : none
Sharp_Strength set to 3.0


Gaussian
Due to the many effects Gaussian can provide, each with their own settings, this will have multiple parts for each setting. Please also understand that you can only use one Gaussian setting at a time.
Gaussian will make you lose fps. It is best to keep the GaussQuality setting at 0 or 1.
Gaussian will make you lose fps. It is best to keep the GaussQuality setting at 0 or 1.
Gaussian Blur
Blurs the screen, mostly around the edges of characters and objects.
If you use this setting, I suggest keeping GausSigma at 1. Higher numbers increase how wide the bloom effects your screen, which can make your game look hazy or foggy.
The higher your GaussQuality setting, the more blurred the image, and the more fps you will lose. I suggest not going over GaussQuality 0, as this takes away a lot of performance.
Estimated fps loss: 0 (At GausQuality 0)


Gaussian Unsharpmask
Unlike how it sounds, this technique brings out the details of textures, making a sharper looking image. This effect is best noticed on the horse's textures. Note that this will make the horse's shine look pixelated, and some horse coats may look 'dirtier'. This is how the textures are originally, Gaussian Blur making them more apparent than before. If this bothers you, or doesn't look right, try lowering your GaussQuality setting or using Lumasharpen instead.
GaussQuality set to be over 0 will greatly reduce your performance. Higher numbers are NOT suggested for weak systems. GaussQuality 2 and 3 look very similar. I suggest keeping your quality at 1.
Estimated FPS loss for Quality 0 : 0
Estimated FPS loss for Quality 1 : 6
Estimated FPS loss for Quality 2&3 : 50


Gaussian Bloom
Creates a bloom effect. The effect for this game does not work correctly, please don't use this option.
Gaussian Sketchy
Makes the image look like a sketch. While this option works as it should, it doesn't look good.
Film Grain
Adds a grain effect to the image. Not noticeable in pictures.
Estimated fps loss : 0
Estimated fps loss : 0
Technicolor
Desaturates the image, giving the effect of an old movie.
Sorry, friends. You can't get rid of that gross neon green no matter how hard you try.
Estimated fps loss : 0
TechniAmount set to 1.0
Sorry, friends. You can't get rid of that gross neon green no matter how hard you try.
Estimated fps loss : 0
TechniAmount set to 1.0

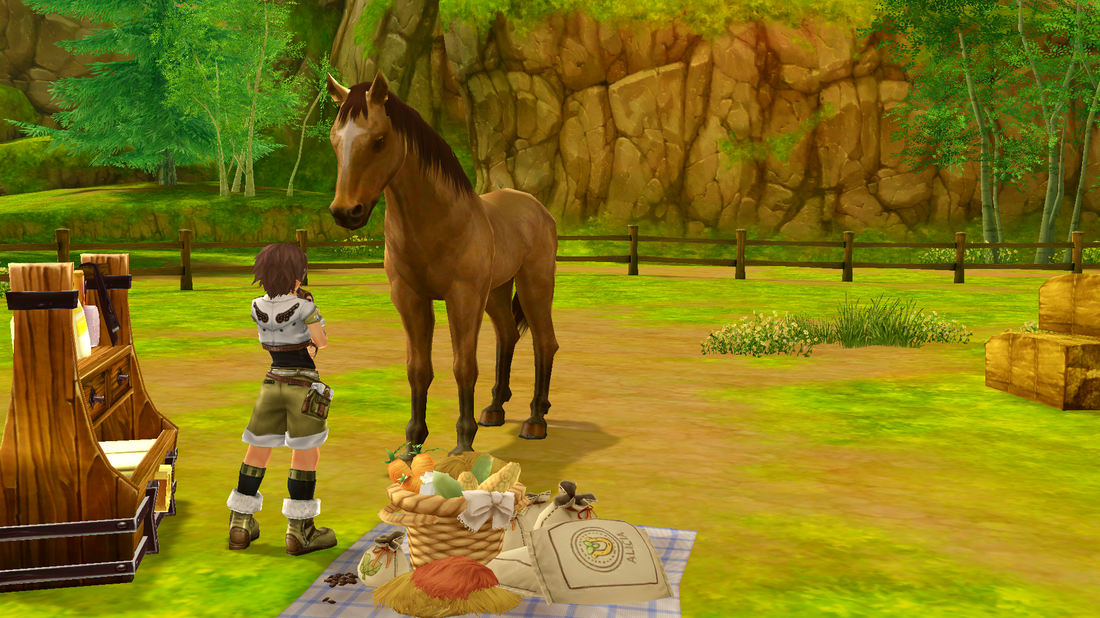
DPX
Brightens and saturates the image.
It is recommended to not set DPXSaturation above 3.0.
Estimated fps loss : 0
ColorGamma set to 2.5
DPXSaturation set to 3.0
It is recommended to not set DPXSaturation above 3.0.
Estimated fps loss : 0
ColorGamma set to 2.5
DPXSaturation set to 3.0


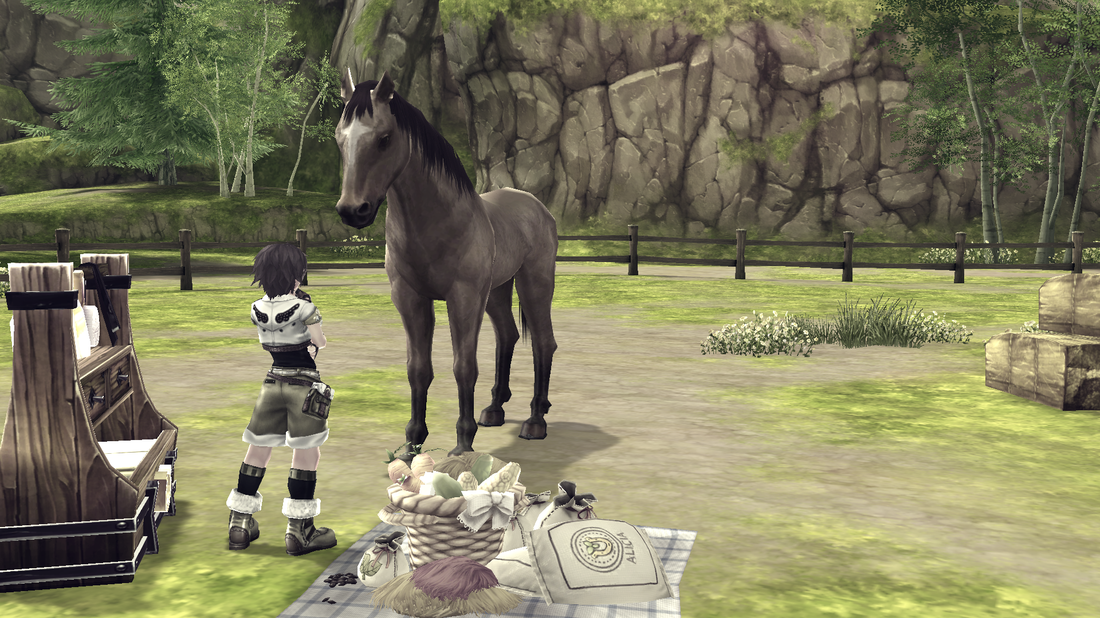
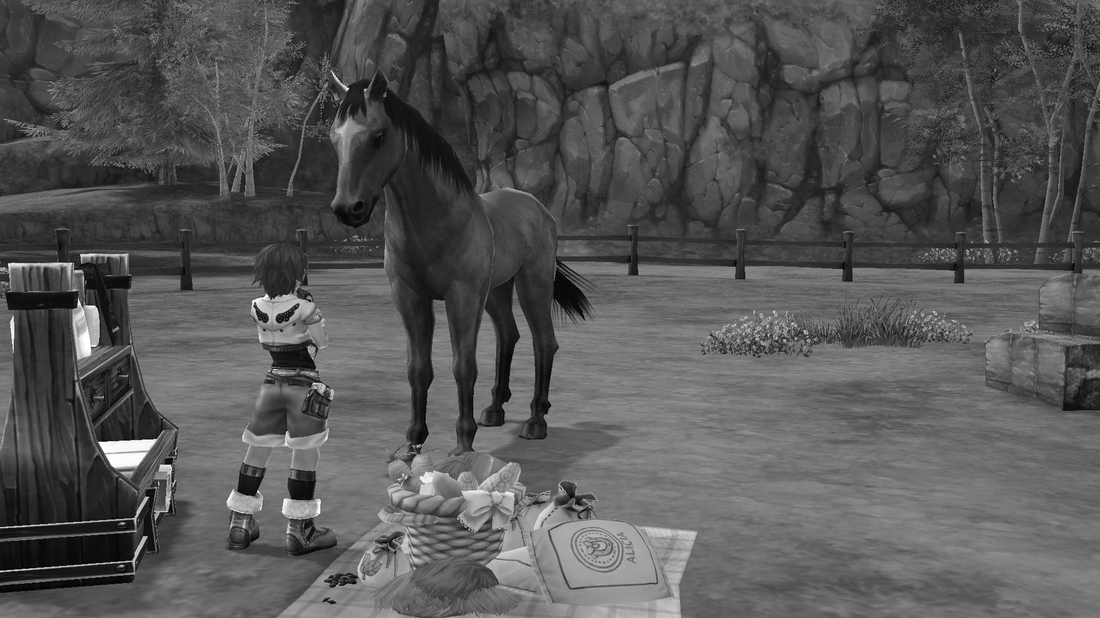
Monochrome
Makes the image black and white. Only suggested for cinematic screenshots and videos.
At least the neon green is gone.
Estimated fps loss : 0
At least the neon green is gone.
Estimated fps loss : 0

Lift Gamma Gain
Adjusts the brightness and color of shadows, midtones, and highlights. This option is configured using RGB. Default settings look the same as default, and need to be configured by the user to show any difference. Due to the way Alicia's game engine handles shadows and highlights, this is not recommended.
Tonemap
Adjusts gamma, exposure, and saturation (bleach and defog is not recommended).
Gamma; How dark your screen is. Adjust this if you want a darker screen - good for moody effects.
Exposure; How light your screen is. Settings higher than 0.20 is not recommended.
Saturation; Saturates the colors. High numbers can make the game's colors look weird. Do not set higher than 1.00.
Estimated fps loss : 0
Gamma set to 1.5
Exposure set to 0
Saturation set to 0.50


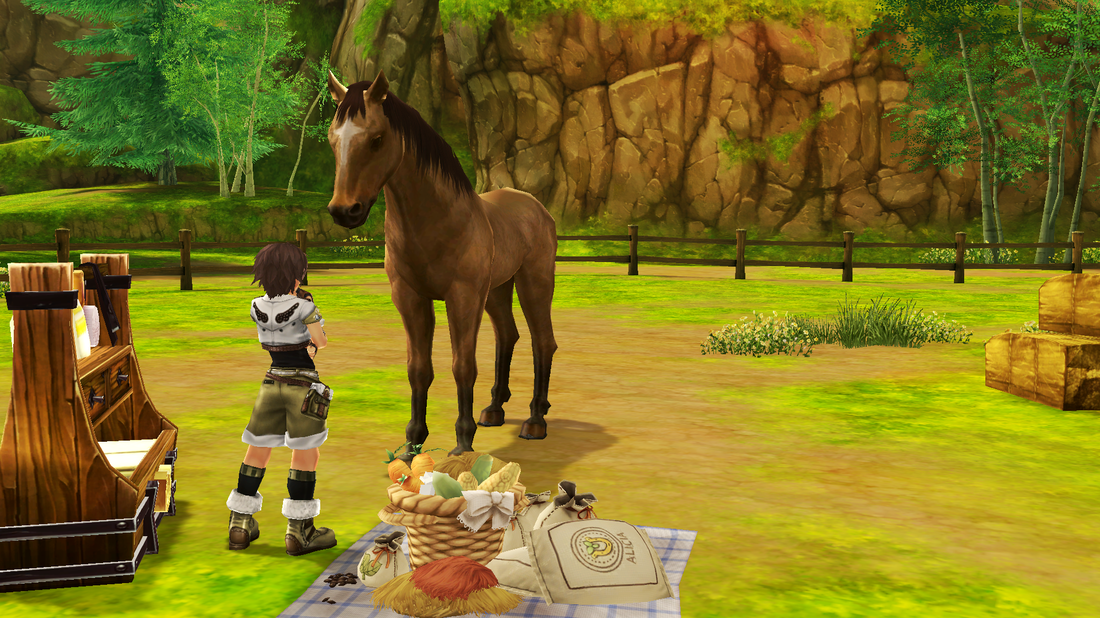
Vibrance
Saturates the colors in a more intelligent way than Tonemap. Numbers higher than 1.00 is not recommended.
Estimated fps loss : 0
Vibrance set to 0.50
Estimated fps loss : 0
Vibrance set to 0.50

Curves
Adds contrast to the image. You are able to chose between three different curves modes; luma, chroma, or luma+chroma.
Curves_Mode : 0 - Luma only
Curves_Mode : 1 - Chroma only
Curves_Mode : 3 - Luma and Chroma
Estimated fps loss : 0
Curves_Contrast set to 0.50
Curves_Mode : 0 - Luma only
Curves_Mode : 1 - Chroma only
Curves_Mode : 3 - Luma and Chroma
Estimated fps loss : 0
Curves_Contrast set to 0.50


Sepia
As the name implies, this adds a sepia layer to the image. Another old movie type option.
Estimated fps loss : 0
GreyPower set to 1.00
SepiaPower set to 0.70
Estimated fps loss : 0
GreyPower set to 1.00
SepiaPower set to 0.70

Vignette
Another cinematic option, applies the lens vignette to the corners of the screen.
Estimated fps loss : 0
VignetteRatio set to 6.00
VignetteRadius set to 3.00
VignetteAmount set to -2.00
VignetteSlope set to 16
Estimated fps loss : 0
VignetteRatio set to 6.00
VignetteRadius set to 3.00
VignetteAmount set to -2.00
VignetteSlope set to 16

Dither
Supposed to simulate more colors on the screen, though it doesn't seem to have any effect. This will also cause bloat to your screenshots or videos if enabled, so it isn't suggested.
Border
An option that can be enabled in the case of the preset causing the edges of your screen to be bright. This is a cause of enabling AA in games that did not previously have it, though you should not have a problem with Alicia. The border is virtually unnoticeable, so unless you are having this issue, there is no need to enable it.
Splitscreen
Splits your screen for before and after shots. Seems to only work correctly if only one other option is enabled.